Integrate Booking Component with Framer CMS
Integrating Bookla with Framer CMS makes it easy to manage multiple booking components for different services. This tutorial walks through the setup process step by step.
What You'll Learn
- How to create custom CMS fields in Framer CMS.
- How to manage different service types (Fixed & Flexible).
- How to dynamically display the right booking component for each service.
Benefits
- Better Booking Experience: Make it simple for users to book the right service.
- Flexible Service Management: Easily handle different service types within Framer CMS.
- Seamless Integration: Keep everything organized with structured booking management.
Setting up Framer CMS for services
- Go to your Framer project
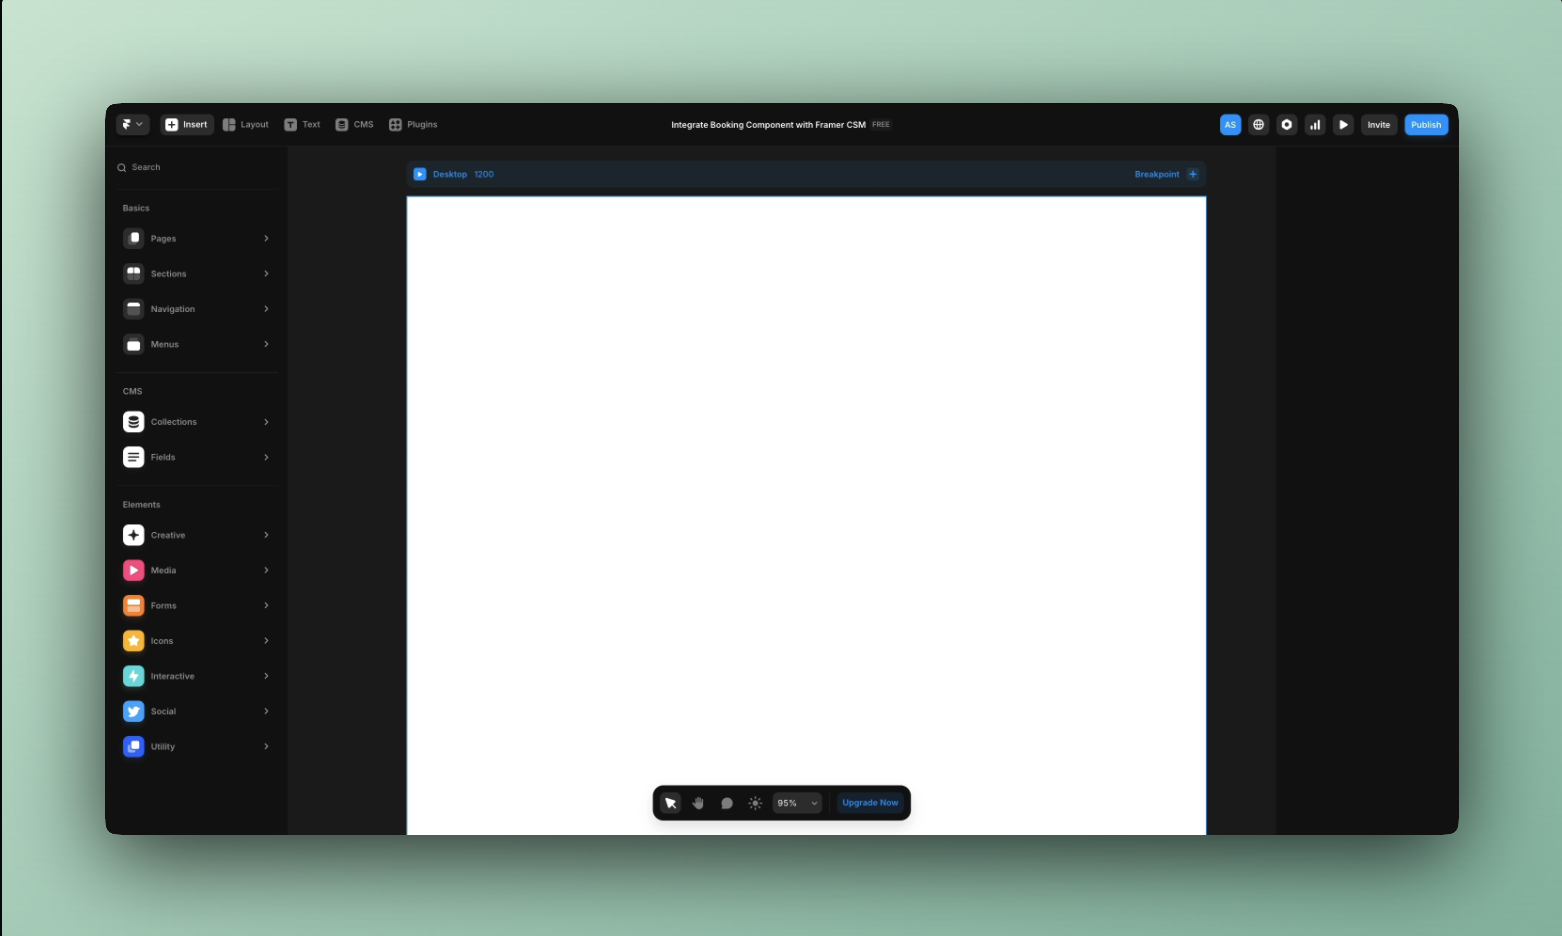
- Click on the CMS button and then "+" on Collections and give a name to the collection.
- Click "New Item".
- Now you will see fields. By default, there will be 3 fields: Title, Slug, and Content. To add more fields:
- Click the "..." button.
- Click "Edit Fields."
If you don't need to add fields, you can skip this and the next step and go to "Adding Service Items with Bookla IDs."
- Here you can see all the fields you already have, but you can also add new ones by clicking on "+" and choosing the types for fields. Add information about each field. The options are:
- Title: Title for the field.
- Description: Description for the field.
- Required: Whether this field is required or not.
- Max length: Maximum number of characters allowed.
- Default:
- Value: Default value for the field.
- Based on: Defines what the default value is based on.
- Placeholder: Example text shown when the field is empty.
- Text area:
- Yes: Allows multiple lines of text.
- No: Single-line text input.
- Localization:
- Yes: Supports multiple languages.
- No: Single-language only.
That's it for this step!
Adding Service Items with Bookla IDs
-
Click "New Item."
-
Write information in the fields and click "Save."
Do this for all of your services
Creating CMS Pages for Services
-
Go to Pages in your Framer project.
-
Click "+"
-
Click "New CMS Page".
-
Choose "Services" -> Index.
-
Click "+"
-
Click "New CMS Page".
-
Choose "Services" -> Detail Page.
- Click on the Plugins button.
- Choose Bookla Plugin.
- Choose "Fixed", then drag and drop it.
- Choose width - Fill.
Configuring Bookla Components with API Keys
-
Change the API region. You can find the correct one in the Bookla platform.
-
To add an API Key:
- Go to the Bookla platform.
- Go to "Developers".
- Click "+ Create API Key".
- Enter a name for the API key.
- Scroll down to "Clients".
- Choose permissions.
- Click "Create".
- Copy the API key and paste it into Framer under "API Key".
- To add Company ID:
- Go to the Bookla platform.
- Go to "Company".
- Copy the ID.
- Paste it into Framer under "Company ID".
Connecting CMS Variables to Components
- Add Service ID:
- Click "+".
- Click "Set Variable".
- Click "Service ID".
By doing this, the Service ID is connected from your CMS into the component.
-
Now, go to the CMS Index Page.
-
Make items clickable by:
- Clicking on an item.
- Clicking "+" on Link.
- Clicking "/services/:slug".